Add Your Company Contacts
Add vendors, subcontractors, and team members to your company's contact database. These contacts can be used across multiple projects and optionally associated with specific projects during creation. This guide covers adding company-wide contacts, not workspace members who need direct calling access.
Prerequisites
Before you begin, ensure you have:
- Completed Quick Start: Set up your workspace and created your first project
- Workspace Access: You must have been added as a workspace member
- Project Access: You should be on your project dashboard
Understanding the Contact System
Company Contacts vs Project Contacts vs Workspace Members:
- Company Contacts: Vendors, subcontractors, and team members stored in your company database, usable across all projects
- Project Contacts: Company contacts specifically associated with a particular project (can have project-specific roles)
- Workspace Members: Users who can sign into the admin or site app and can call Alex from the apps, upload photos/ videos or contribute to projects
💡 Important Distinction:
- Workspace Members can call Alex from the admin app or site app interface
- Company Contacts and Project Contacts can call Alex directly if you provision a phone number for Alex - and Alex will automatically recognize them and have full context about their role, company, and project associations
This guide covers adding Company Contacts who can be used across projects. For team members who need to call Alex directly from the apps, see Inviting Workspace Members.
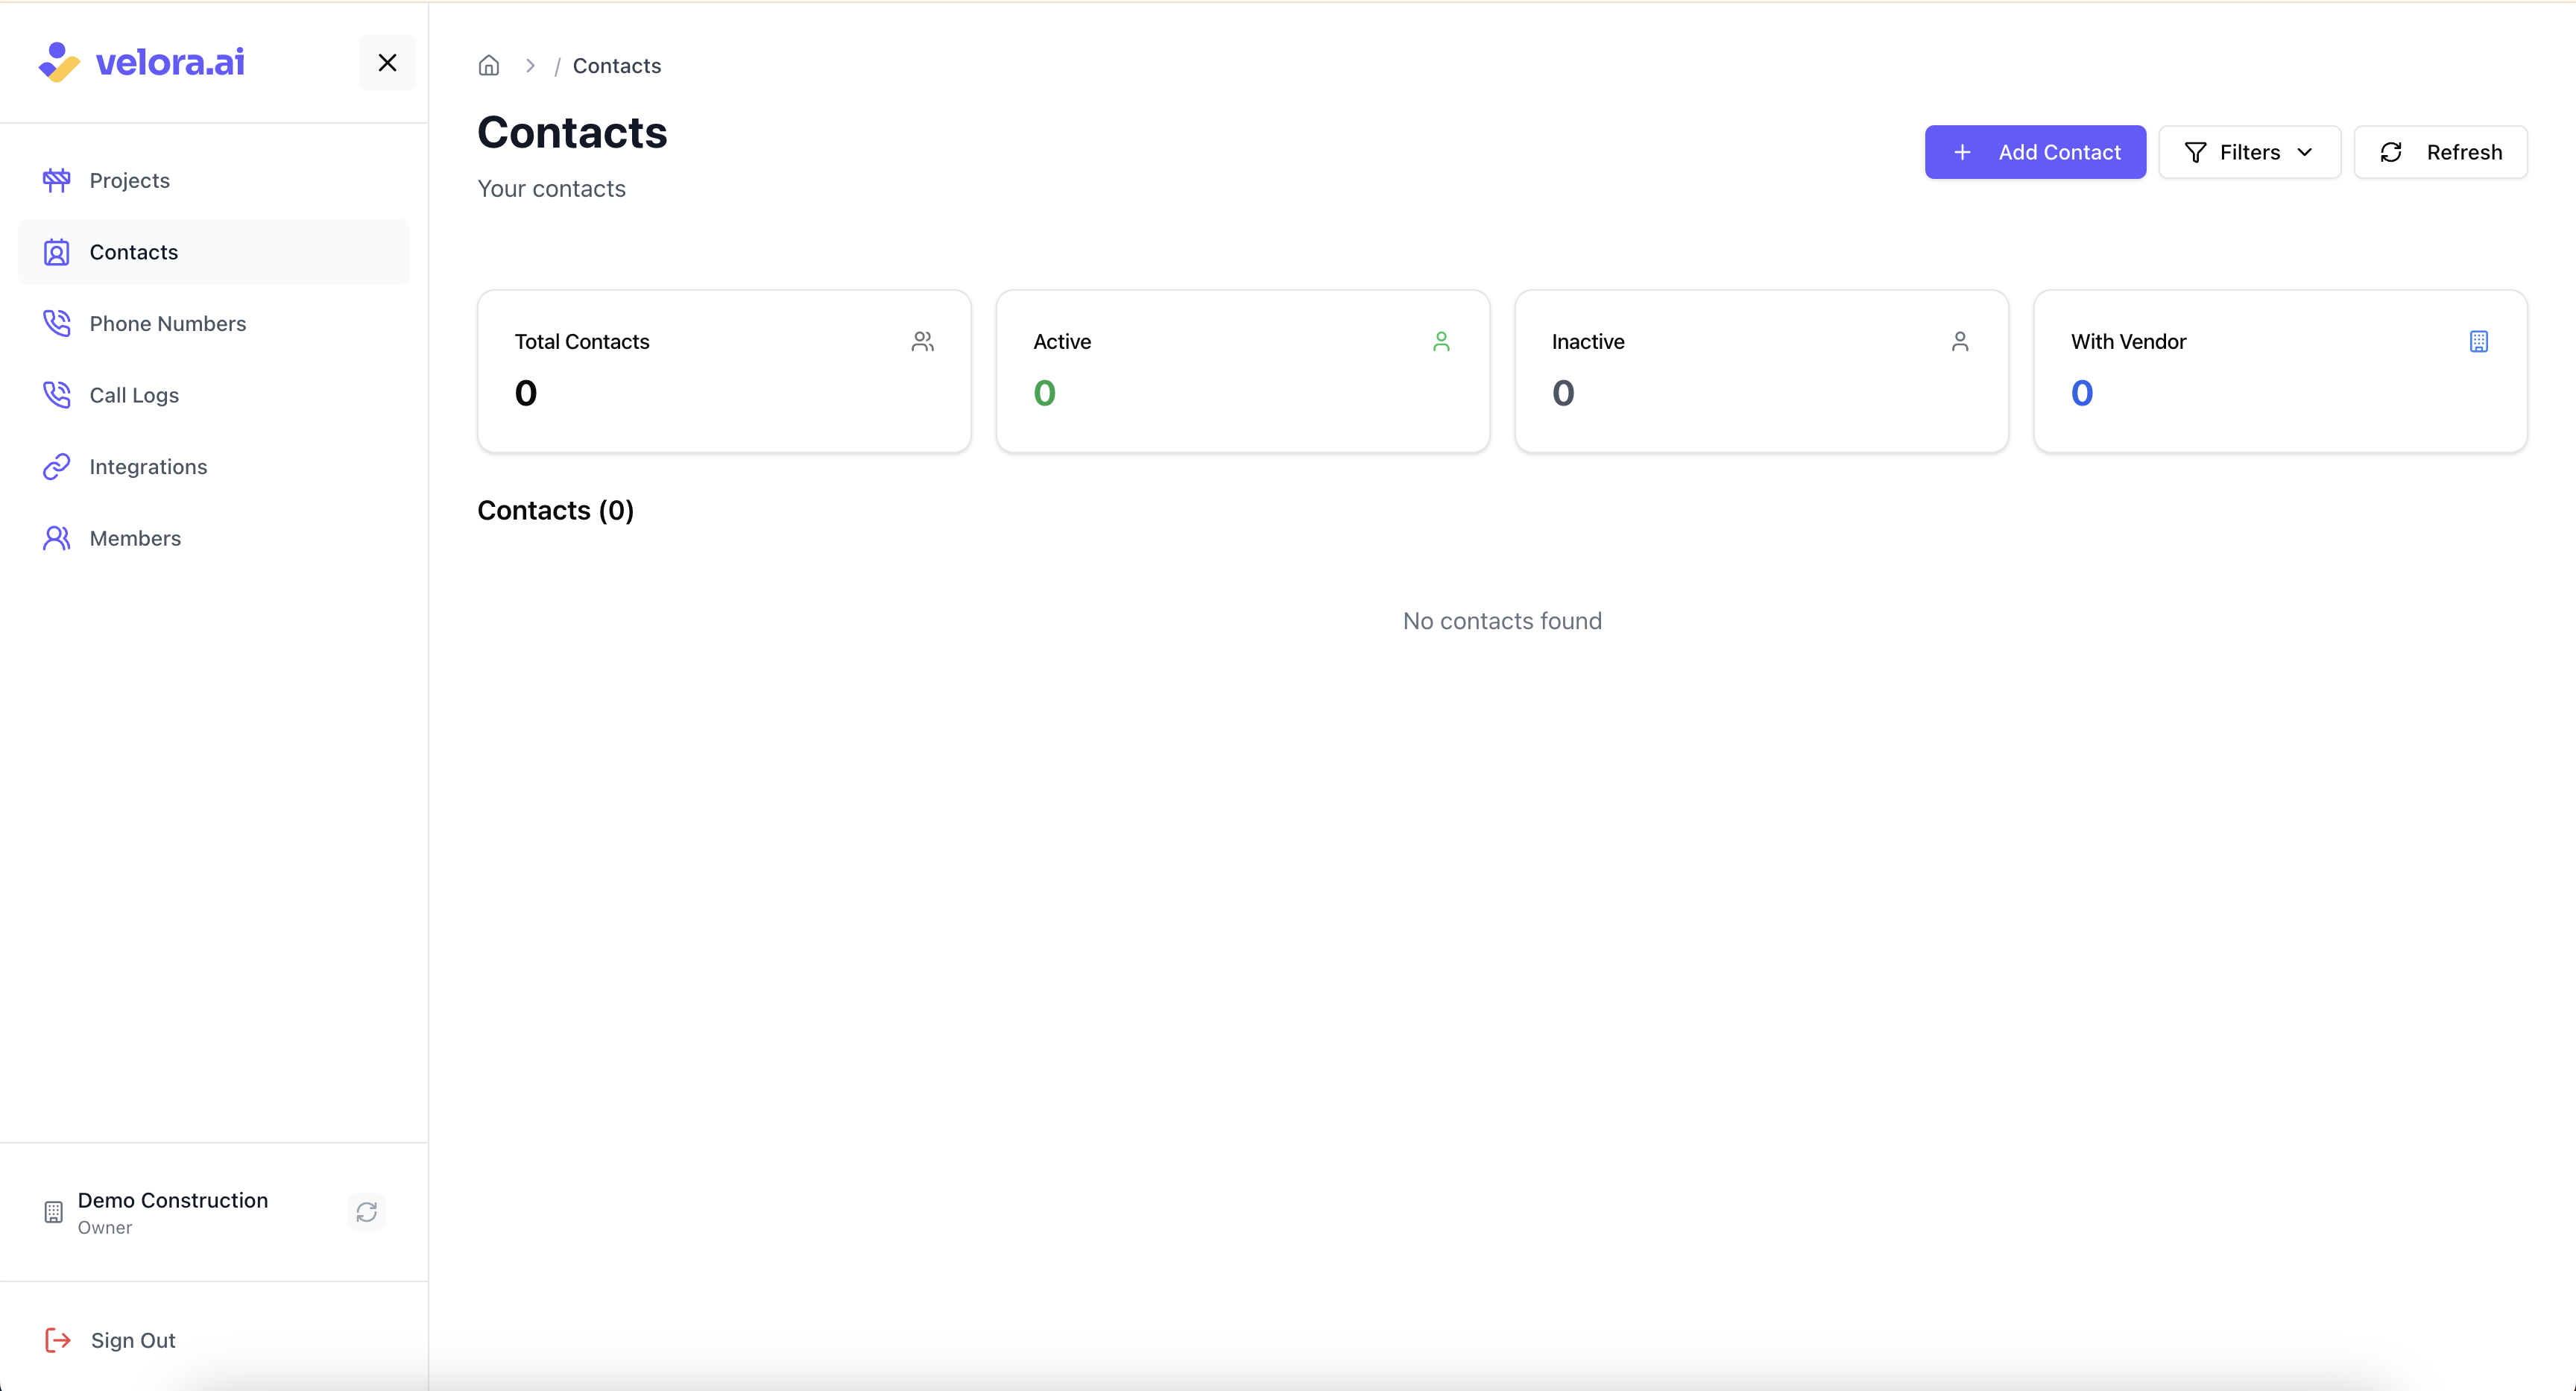
Step 1: Access the Add Contact Feature
1.1 Navigate to Add Contact
In 'Contacts' tab on your admin app, locate and click the "Add Contact" button:
Step 2: Fill Out the Contact Form
2.1 Open the Add Contact Dialog
Clicking "Add Contact" will open a dialog form where you can enter the contact's information:
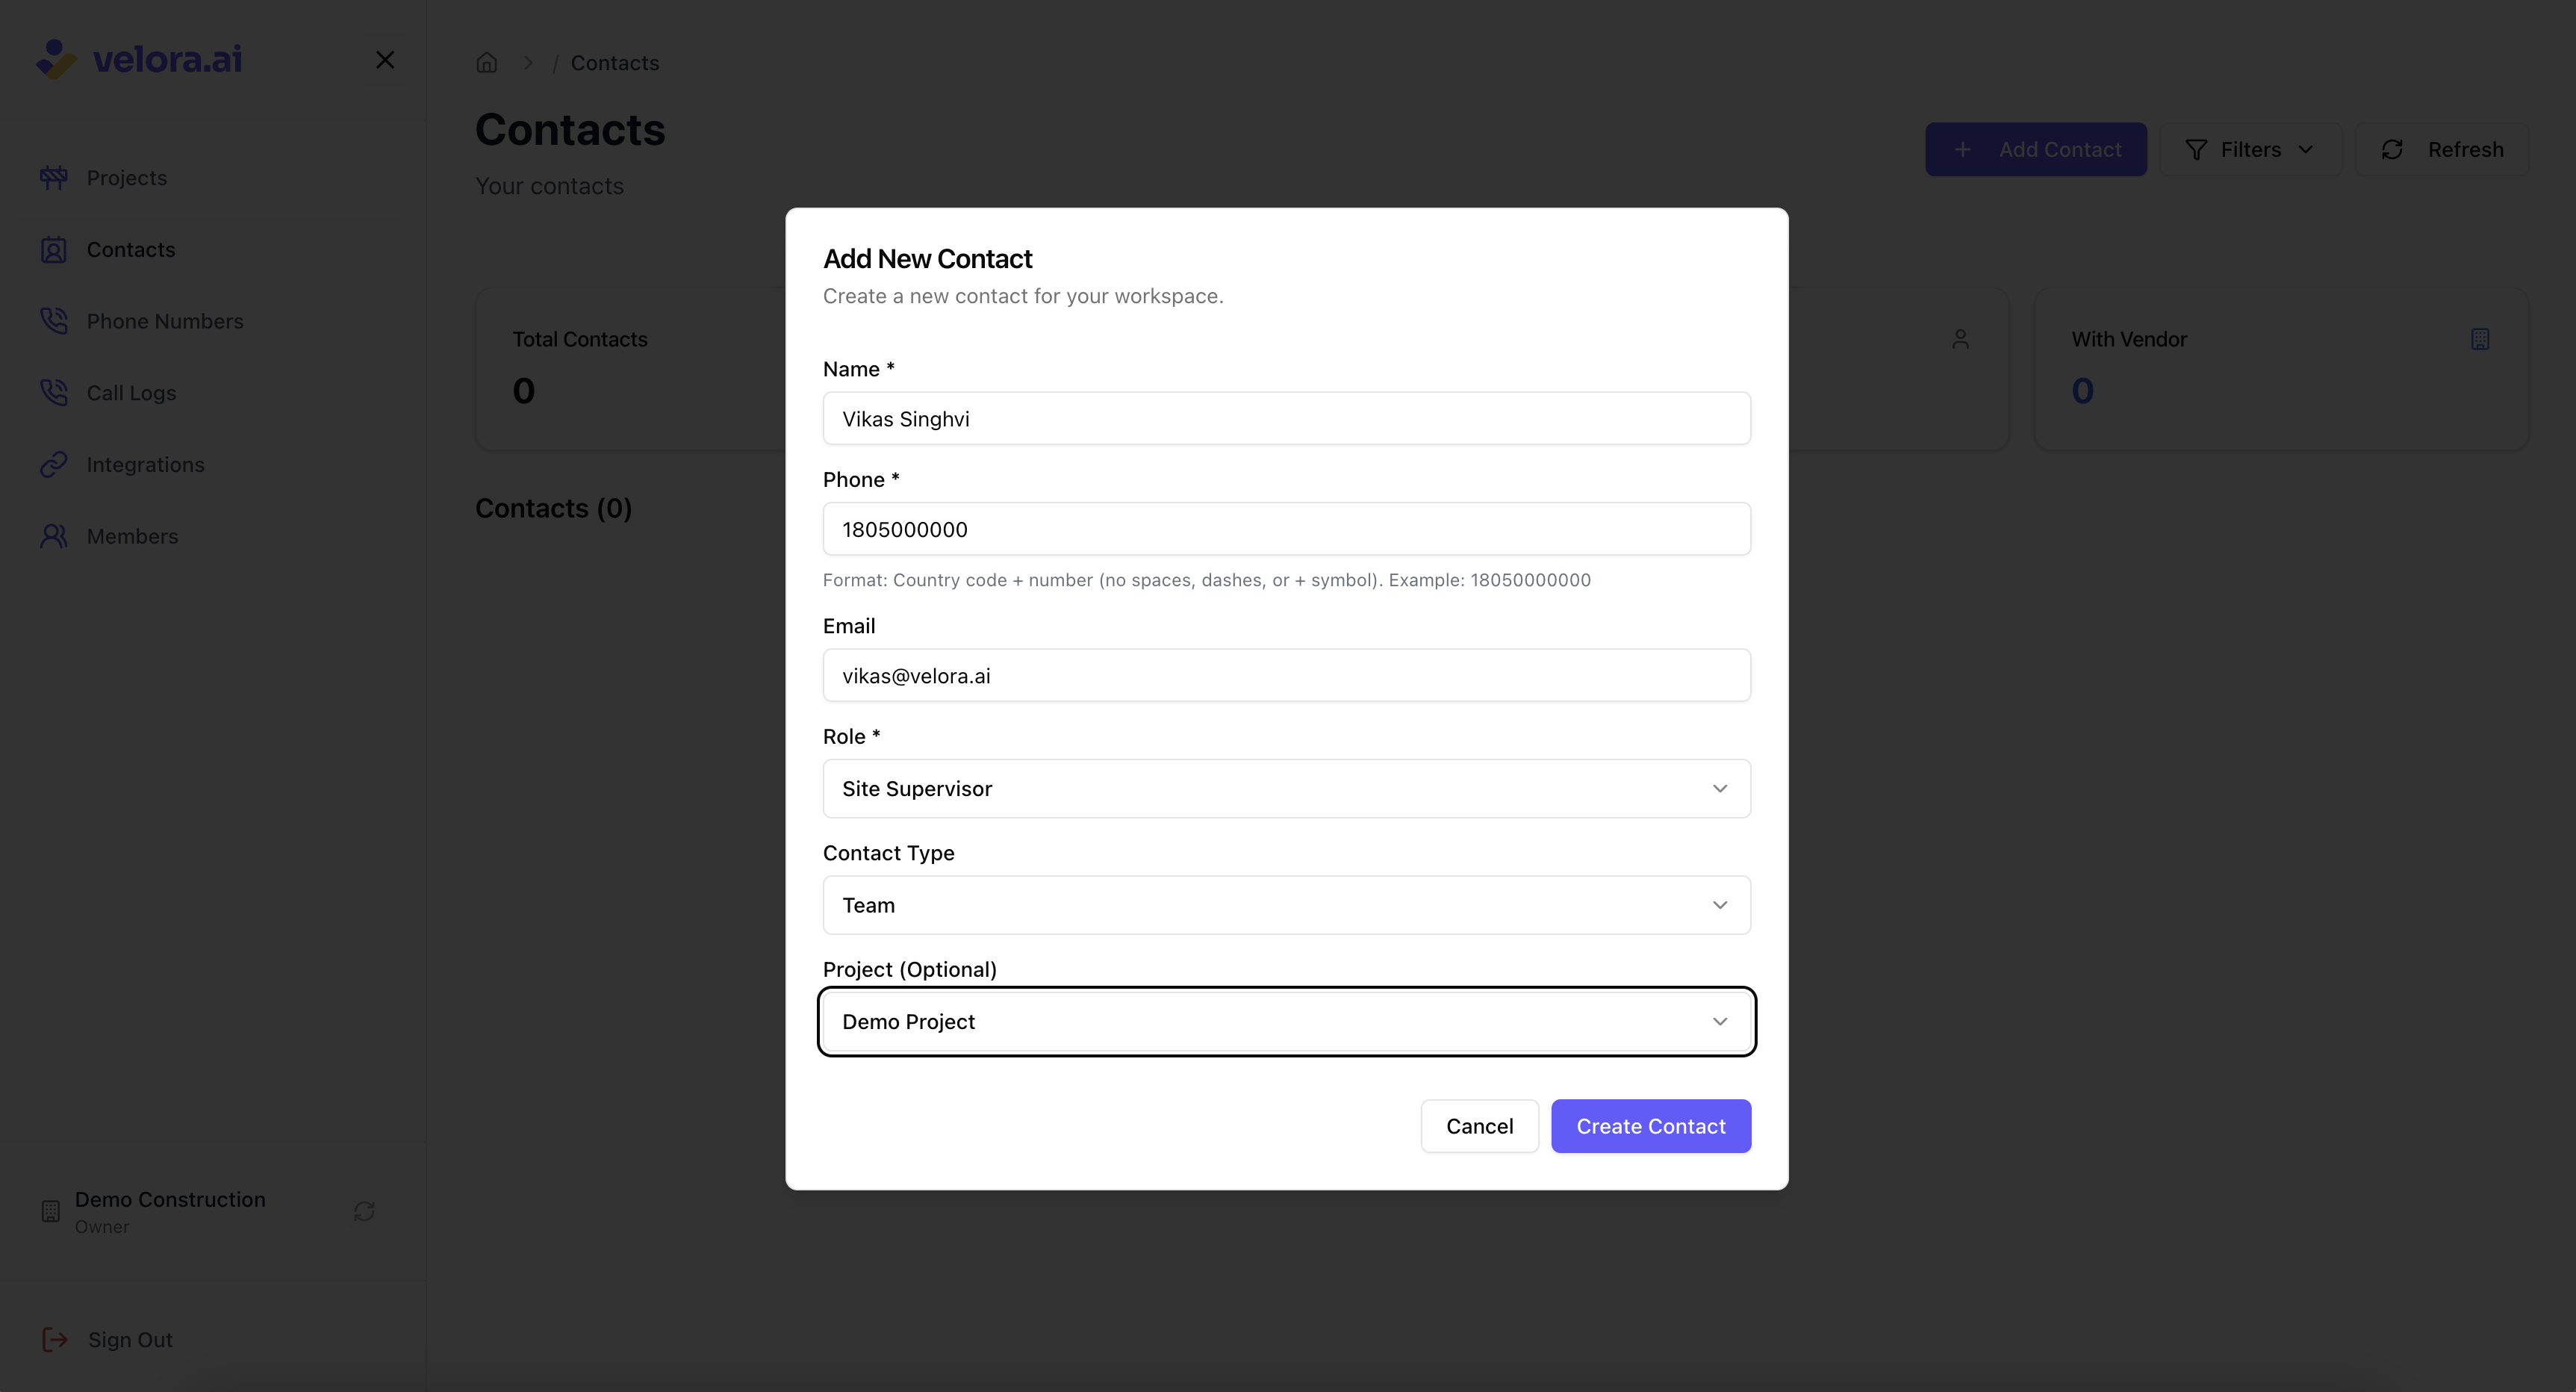
2.2 Enter Contact Details
Fill in the following information for your company contact:
Required Fields:
- Full Name: The contact's complete name
- Phone Number: Their contact phone number (Format: Country code + number i.e. no spaces, dashes, or + symbol. Example: 18050000000)
- Email Address: Their business email address
- Role: Their typical role on projects (select from standardized options)
- Contact Type: Whether the contact is from the team or a vendor contact
Optional Fields:
- Vendor: Their employer or subcontractor company name (in case of contacts with type=vendor)
- Project Association: Optionally select a specific project to automatically create a project contact
Available Contact Roles:
- Project Leadership: Project Owner, Project Manager, Site Supervisor
- Engineering: Planning Engineer, Project Engineer, Quality Engineer
- Site Management: Foreman (Civil), Foreman (Electrical), Foreman (Plumbing)
- Specialized Roles: Materials Manager, Safety Officer, Subcontractor Lead
- Suppliers: Cement Supplier, Steel Supplier, Bricks Supplier, Aggregates Supplier
- Vendors: Equipment Vendor, Transport Vendor, Labor Vendor
- Financial: Financier
- Other: Other (for custom roles not covered above)
Step 3: Submit and Confirm
3.1 Submit the Form
After filling out all required fields:
- Review the information for accuracy
- Click "Create Contact" to submit the form
3.2 Success Confirmation
You'll see a success message confirming the contact has been added:
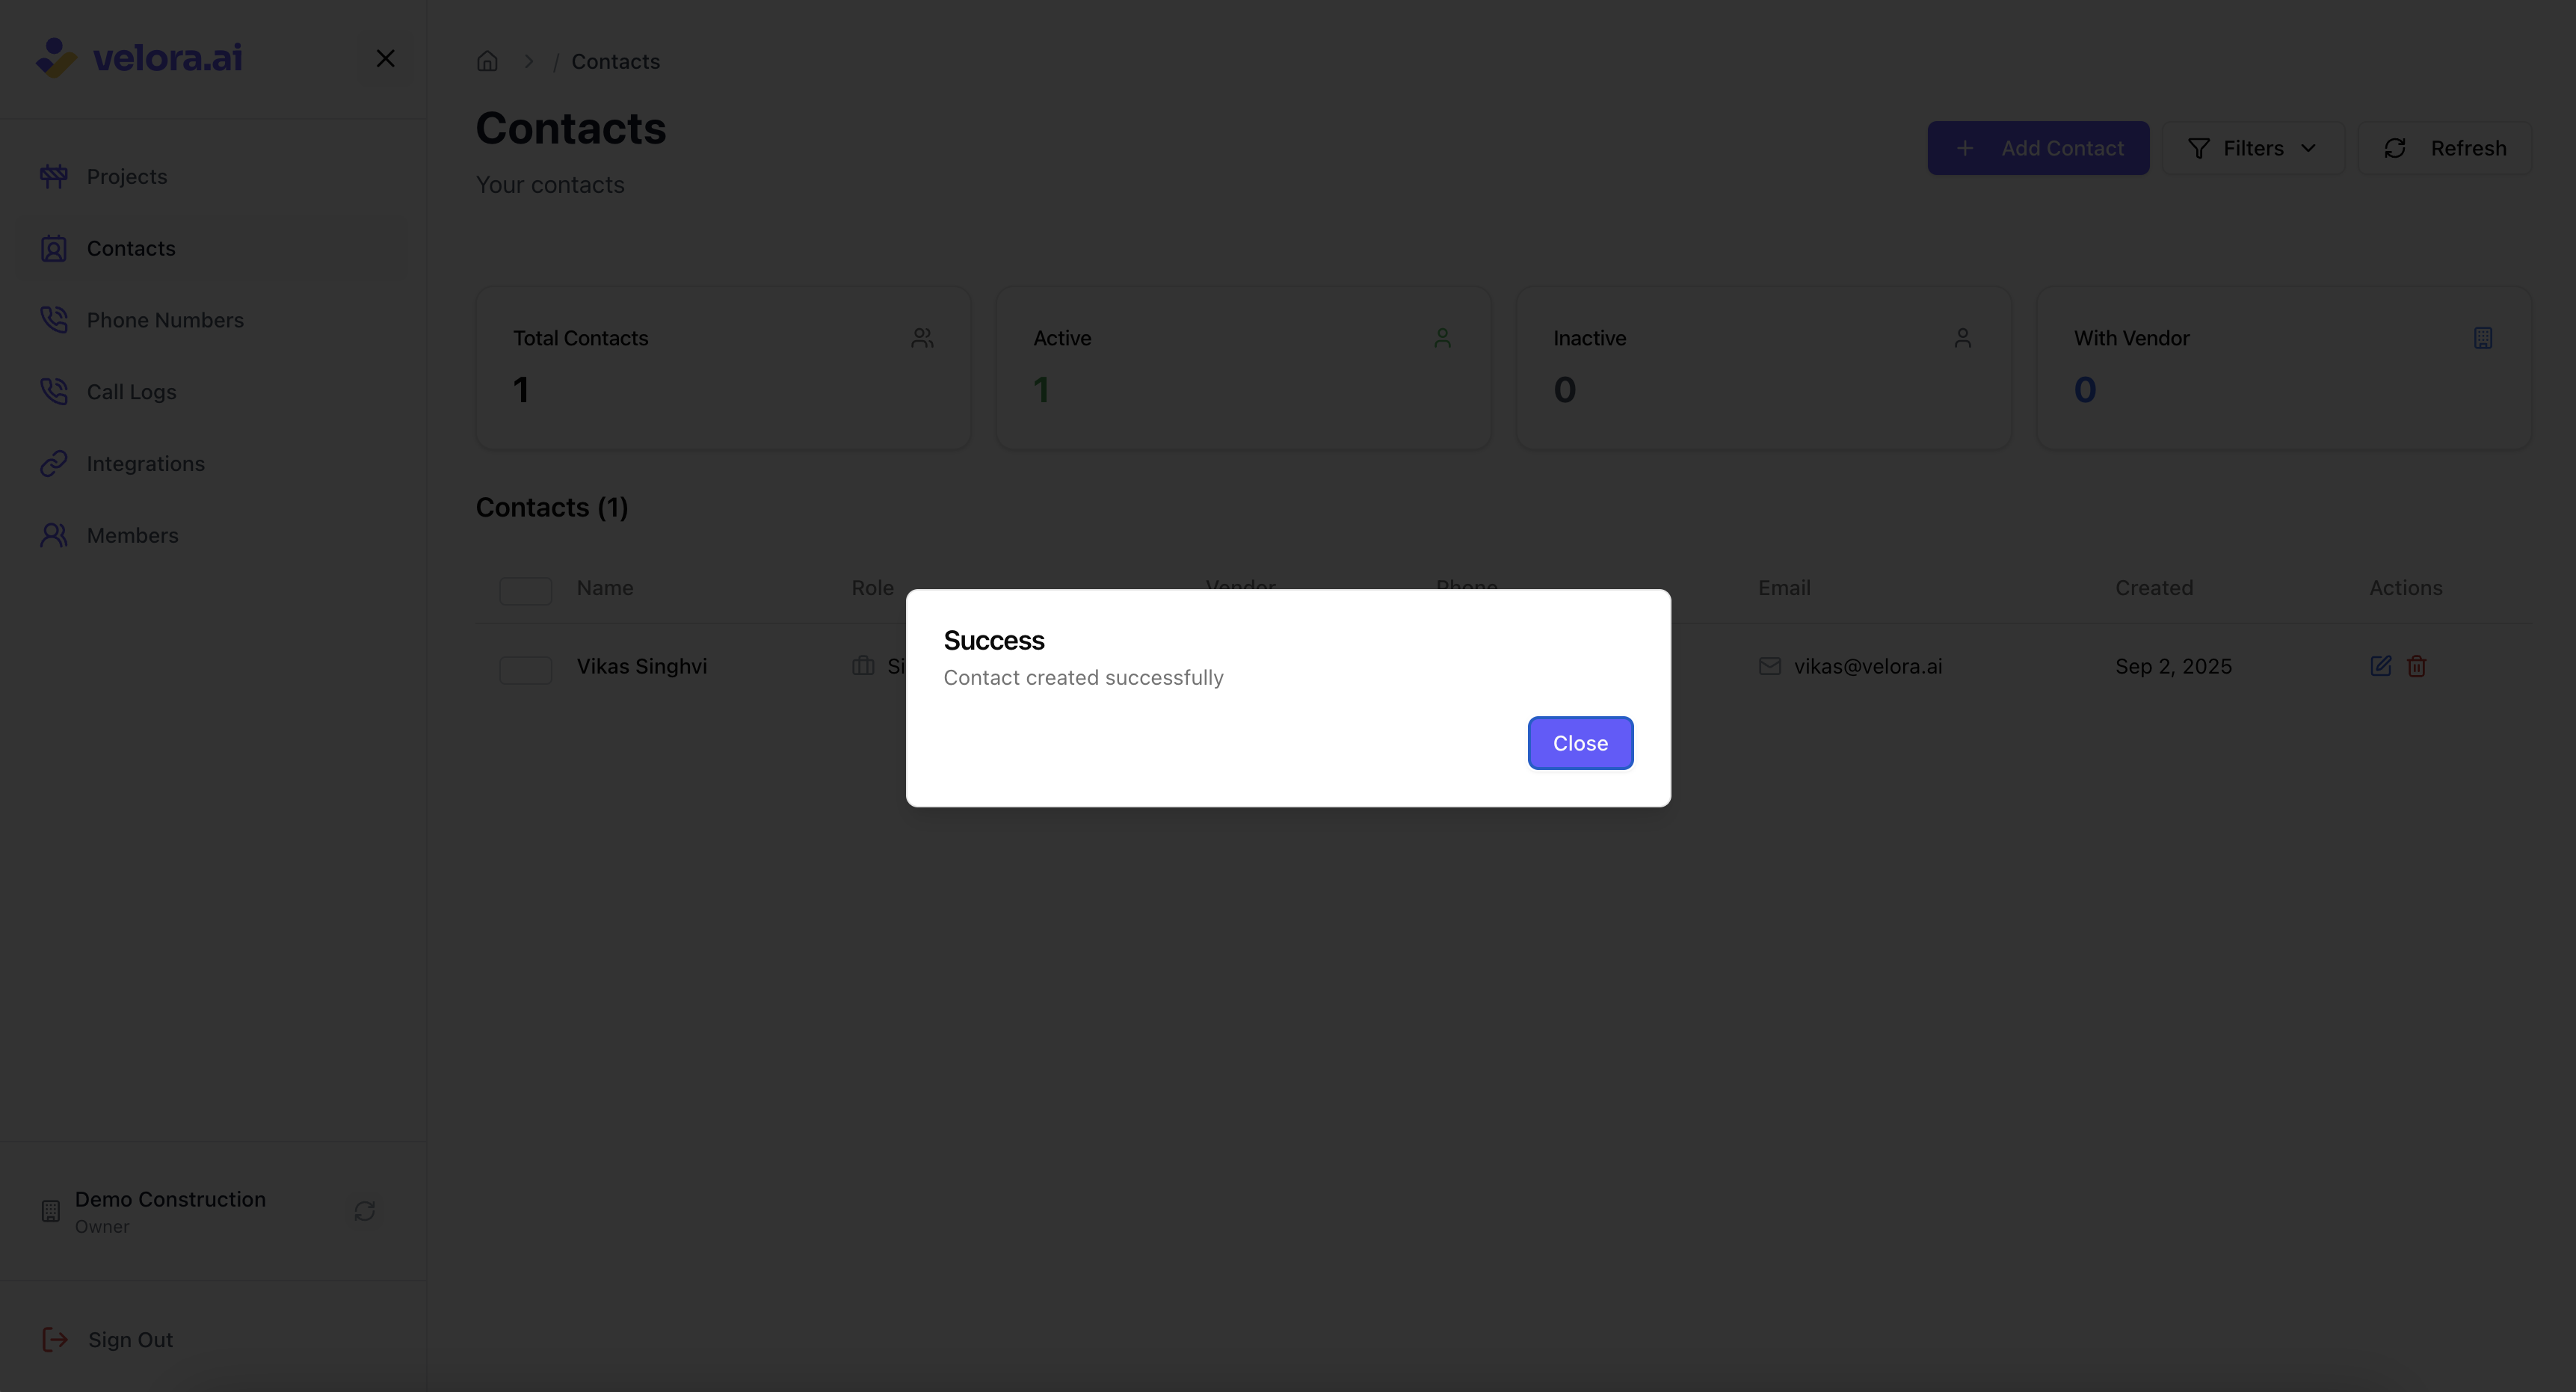
✅ Success: The contact has been successfully added to your company database and can now be used across projects.
Step 4: View Your Contacts List
4.1 Access the Contacts List
Navigate to the contacts tab to see all company contacts:
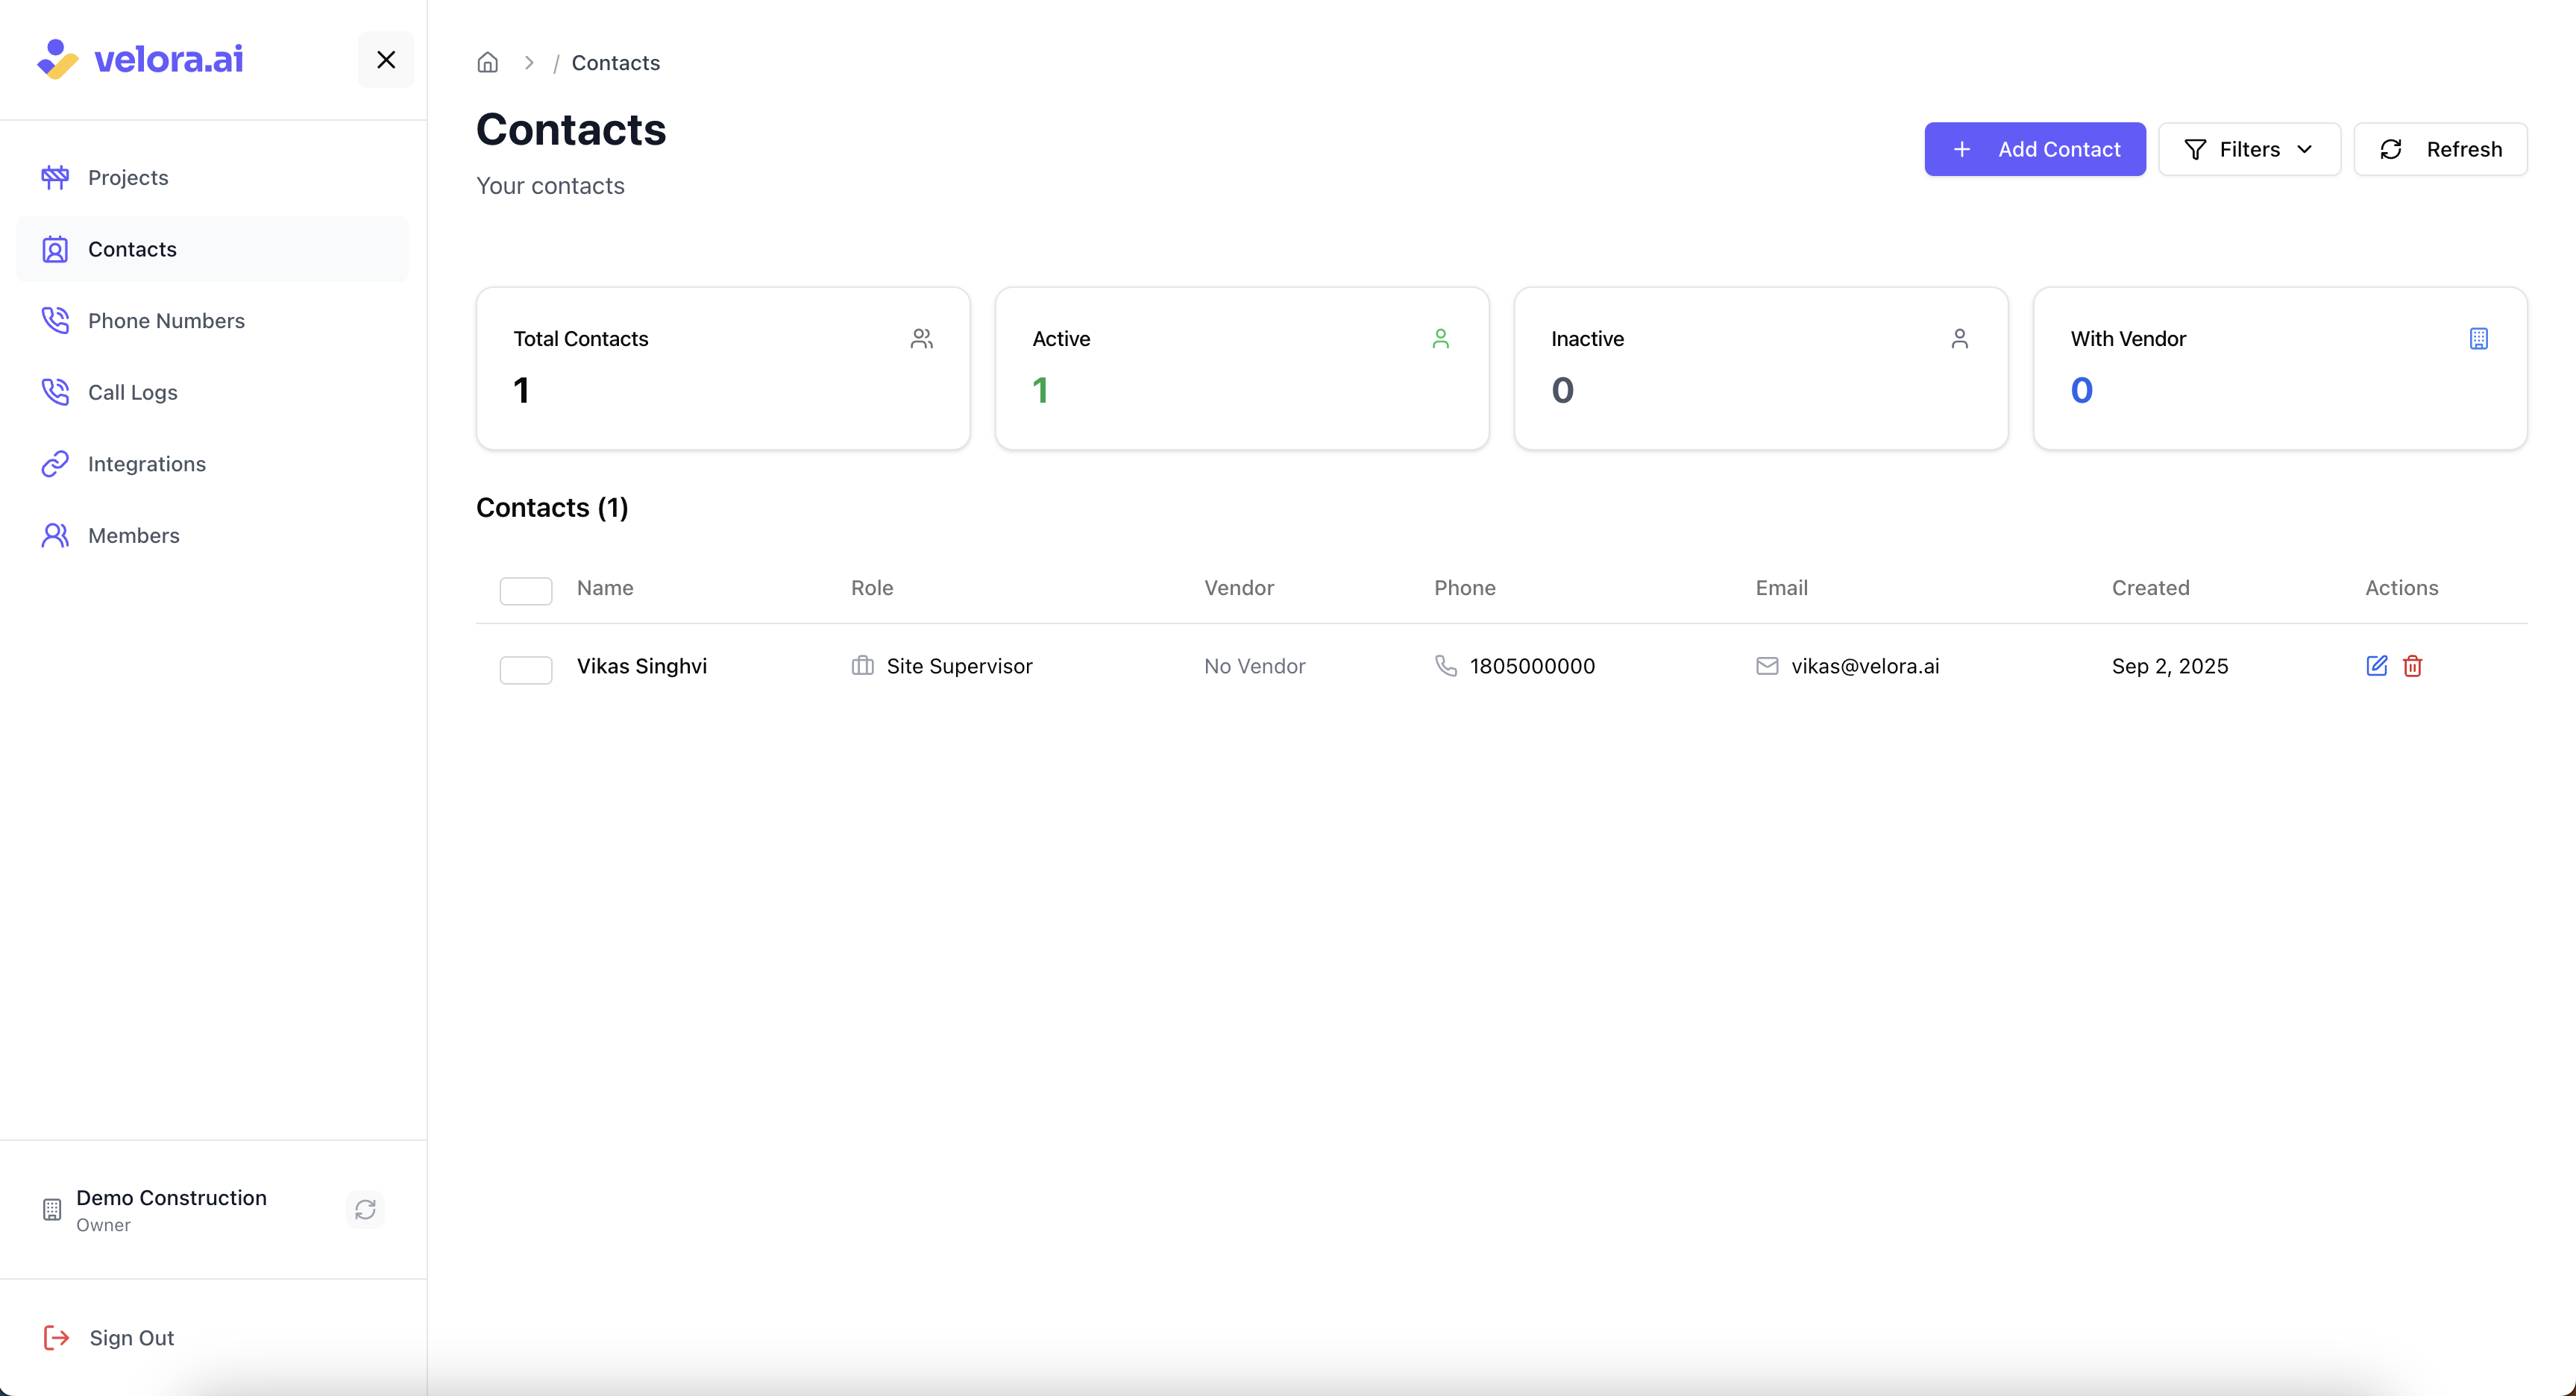
4.2 Review Your Company Contacts
Your contacts list will display:
- Contact Names: All vendors and team members in your company database
- Roles: Their general positions and responsibilities
- Contact Information: Email and phone numbers for easy access
- Management Options: Edit or remove contacts as needed
Step 5: Adding Vendor Contacts
5.1 Access Vendor Contact Addition
You can add specialized vendor contacts like suppliers and equipment providers, while using the 'Add Contact' interface. Simply change the contact type to vendor, and fill in additional vendor details:
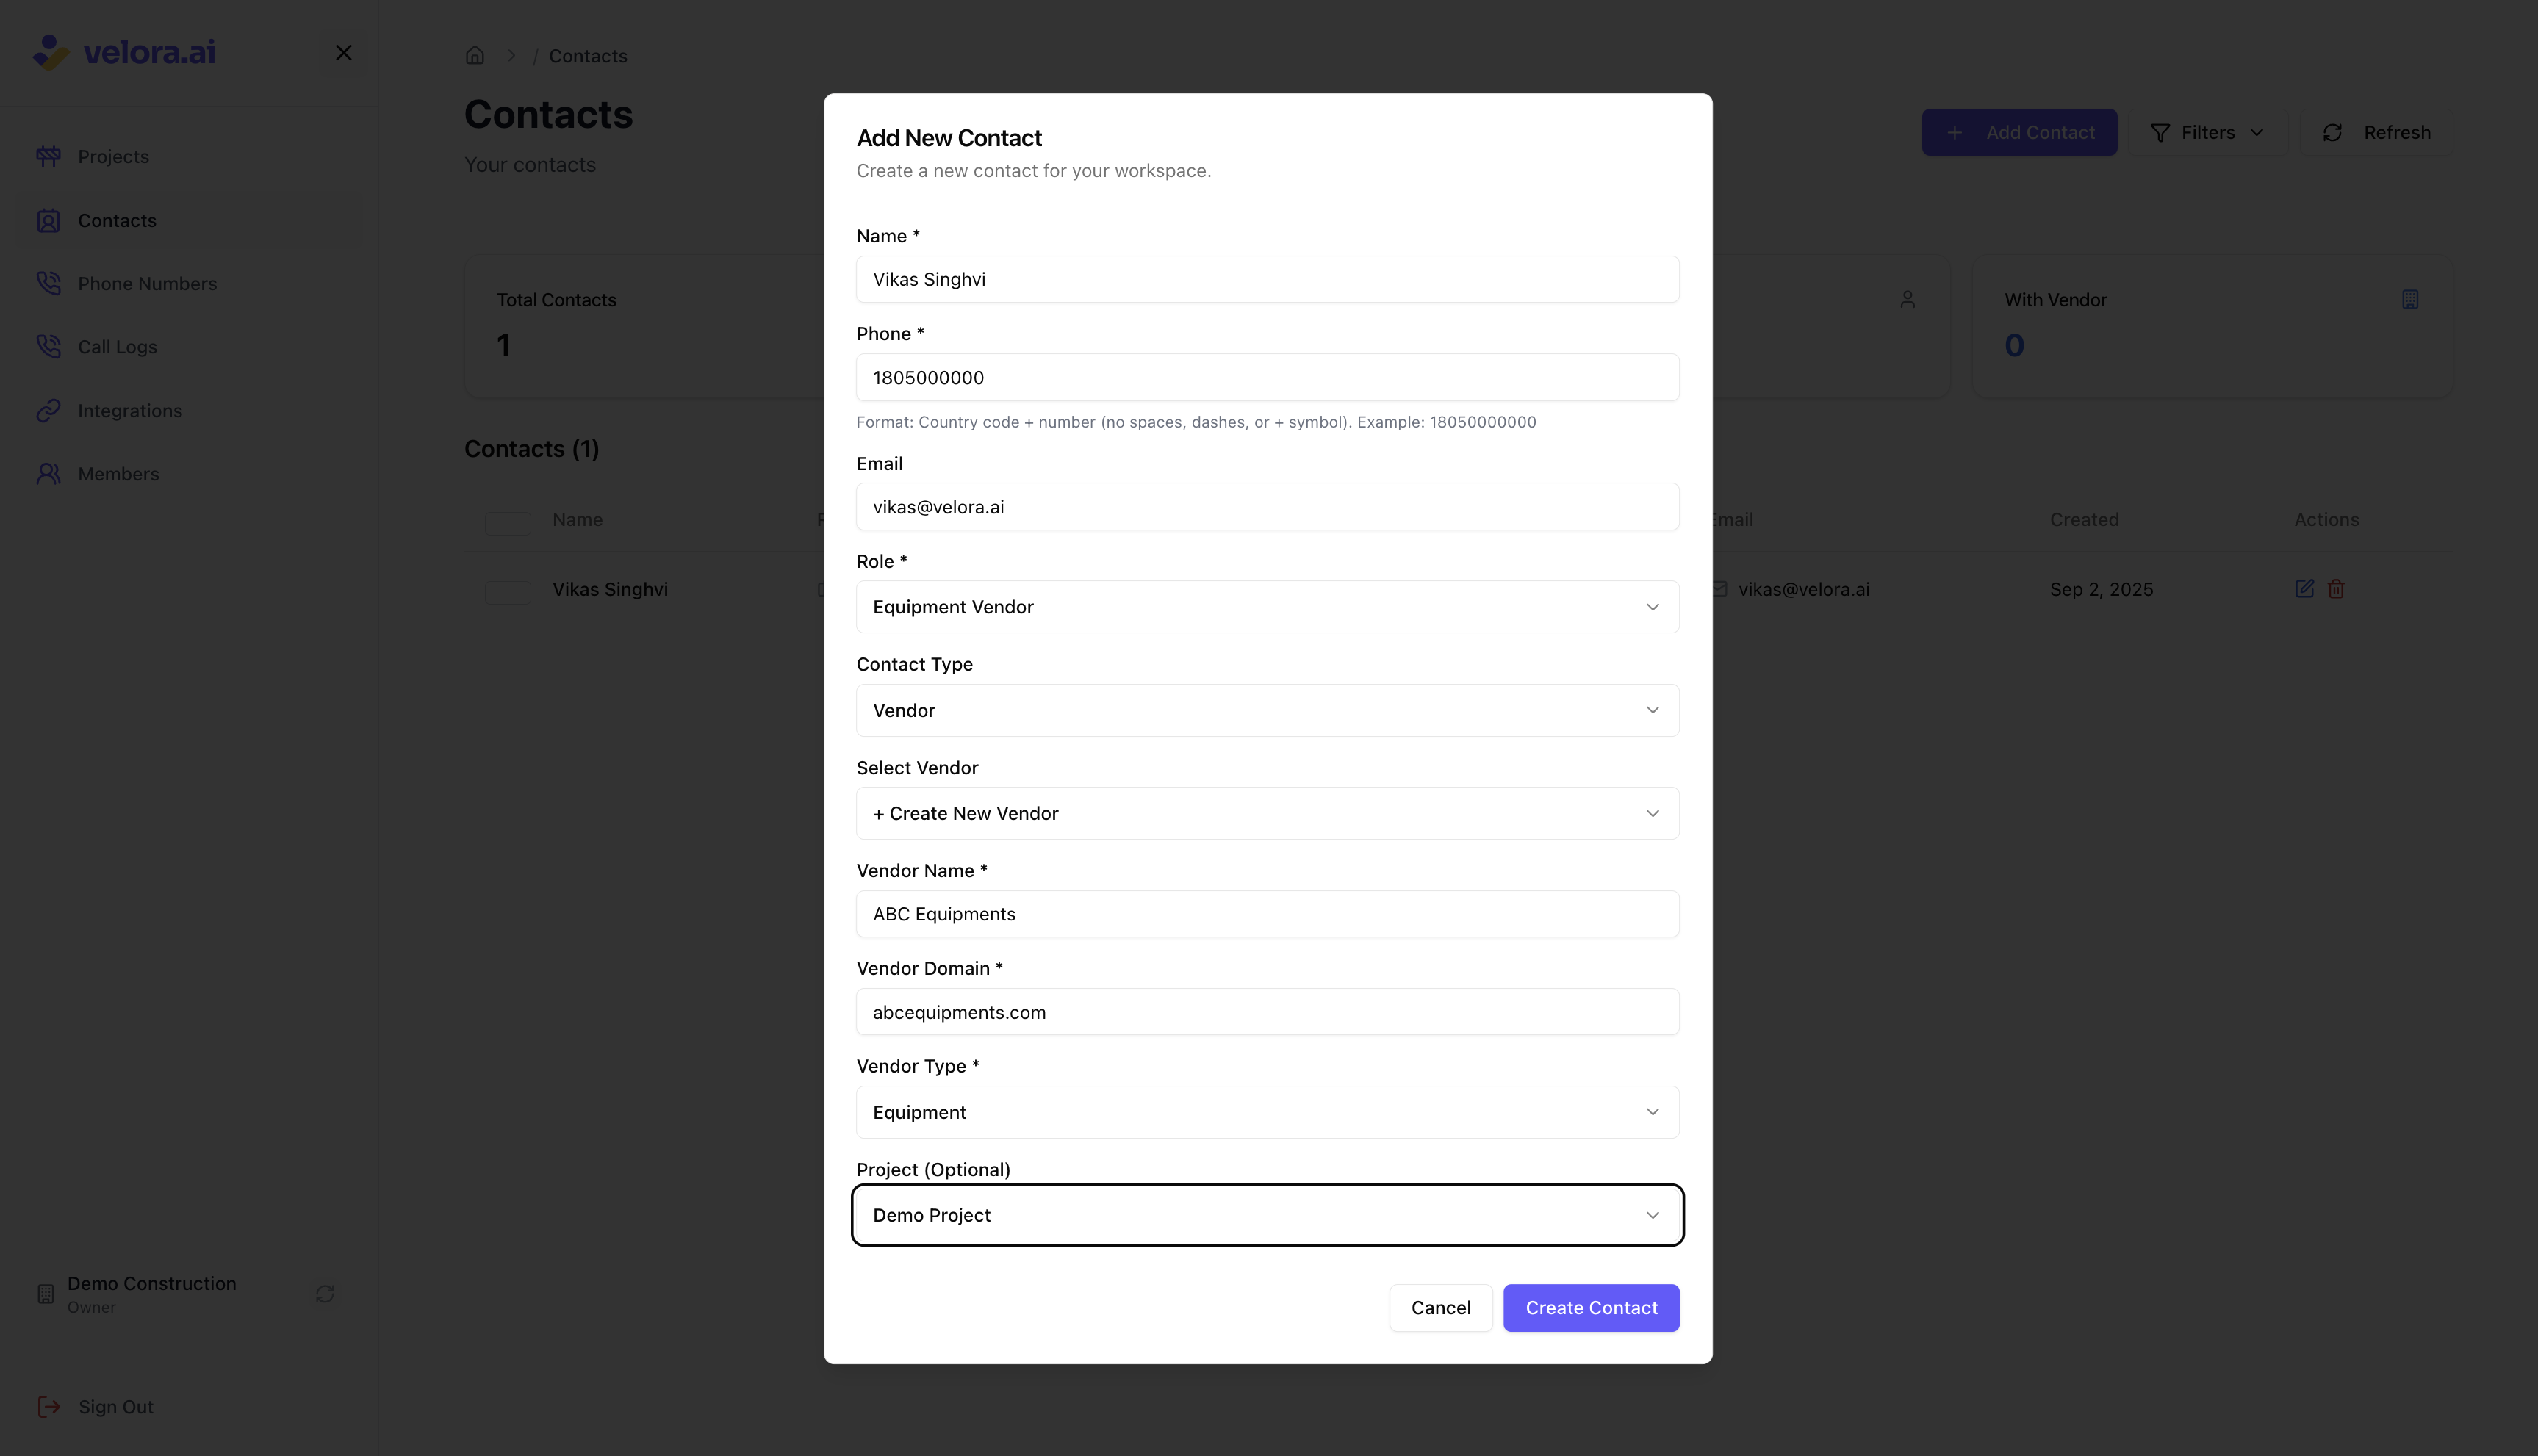
5.2 Vendor Contact Details
The add vendor contact interface allows you to specify:
- Vendor information: Vendor name and email domain
- Vendor type: Choose from predefined vendor types - material, labor, equipment
💡 Tip: Use vendor contacts for suppliers, equipment providers, and specialized service providers who work across multiple projects.
Step 6: Bulk Upload Contacts (Alternative Method)
6.1 CSV Bulk Upload Option
For adding multiple contacts at once, you can use the bulk upload feature available in the Integrations tab:
- Download the CSV template from the Integrations section
- Fill in contact information following the template format
- Upload the completed CSV file to bulk import contacts
💡 Note: The Bulk Upload page contains detailed guidance documentation for this process.
Step 7: Manage Your Company Contacts
7.1 Edit Contact Information
To update a contact's details:
- Find the contact in your contacts list
- Click the edit icon or "Edit" button
- Modify the information as needed
- Save your changes
💡 Note: Changes to company contacts will affect all projects where they're associated. Overridden contact roles at project level will not be affected.
7.2 Remove Company Contacts
To remove a contact from your company database:
- Locate the contact in your contacts list
- Click the delete icon or "Remove" button
- Confirm the removal action
⚠️ Warning: Removing a company contact will remove them from ALL projects where they're associated. Make sure this is the intended action.
How Company Contacts Work
7.3 Cross-Project Usage
Company contacts can be:
- Associated with multiple projects: Use the same contact across different projects
- Reused efficiently: No need to re-enter contact information for each project
- Centrally managed: Update once, changes apply everywhere
7.4 Project Association Options
When adding a company contact, you can:
- Create company contact only: Add to database without project association
- Create company + project contact: Automatically associate with a specific project
- Associate later: Add to projects as needed from project details section
7.5 Alex Integration
Once contacts are added to your company database, Alex can:
- Recognize Inbound Calls: When Alex receives calls from known contacts, it automatically identifies who's calling based on the phone number
- Provide Contact Context: Alex has full context about the caller's role, company, and project associations
- Make Outbound Follow-ups: During outbound calls, Alex has complete contact context and can reference previous conversations and project details
💡 How Contacts Can Reach Alex:
- From Apps: Workspace Members can call Alex from the admin app or site app interface
- Direct Phone Calls: Company Contacts can call Alex directly on a provisioned phone number - Alex will automatically recognize them and have full context
- Outbound Calls: Alex can proactively call company contacts for updates and follow-ups
Best Practices for Company Contacts
7.6 Keep Information Current
- Regularly update contact information
- Remove contacts who are no longer working with your company
- Add new contacts as you establish new relationships
- Ensure phone numbers are current and accessible
What Happens Next?
After adding company contacts, here's what you can do:
- Associate with Projects: Add contacts to specific projects as needed
- Project Management: Use contacts across multiple projects efficiently
- Team Coordination: Let Alex call contacts for updates and coordination
- Centralized Database: Maintain one source of truth for all company contacts
- Site Updates: View coordinated updates from all contacts in the Site Updates section
Need Help?
- Support Team: Contact us at support@velora.ai
- Documentation: Review our Quick Start Guide for basic setup
- Project Team Setup: Learn about Setting Up Your Project Team for project-specific contact management
- Workspace Members: Learn about Inviting Workspace Members for team members who need to call Alex directly
Ready to build your company contact database? Add contacts today and streamline your project management across all your construction projects!