DPR Generator — Setup Guide
The Velora DPR Generator runs entirely on your Windows machine. Your WhatsApp data never leaves your device — all processing happens locally using on-device AI models.
Installation is straightforward — it's a standard Windows installer where you click through a few screens (Install → Next → Finish), just like any other Windows app. This guide is here if you want step-by-step screenshots along the way, but most users get through it without needing to refer back.
Time to set up: 5 to 10 minutes
Step 1 — Download the installer
Click the button below to download the Velora DPR Generator for Windows.
Step 2 — Run the installer
Open the downloaded .exe file from your Downloads folder.
If Windows SmartScreen shows a warning dialog, click More info and then Run anyway. This is expected behaviour for new software publishers on Windows and does not indicate any problem with the file.
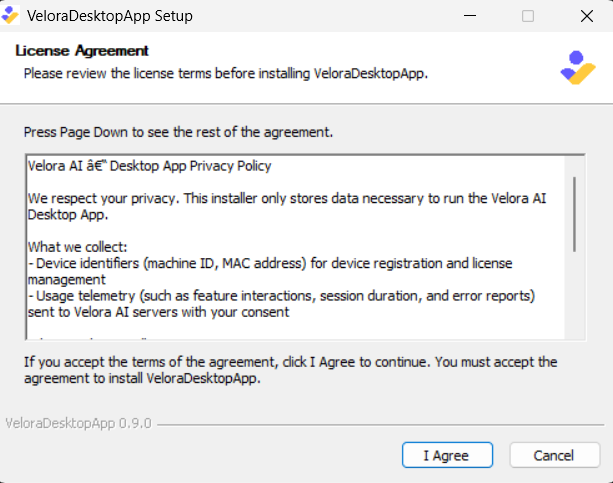
Step 3 — Accept the privacy policy
Review the privacy policy and click I Agree to continue.
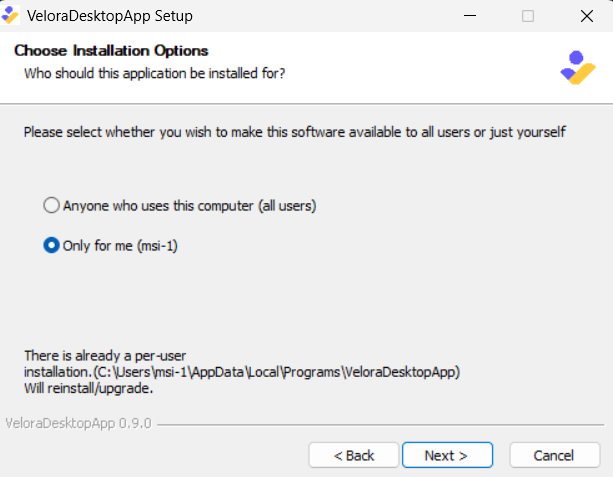
Step 4 — Choose the installation type
Select whether to install Velora AI for all users on this machine or just for your own account. Either option works — if you're unsure, the default is fine.
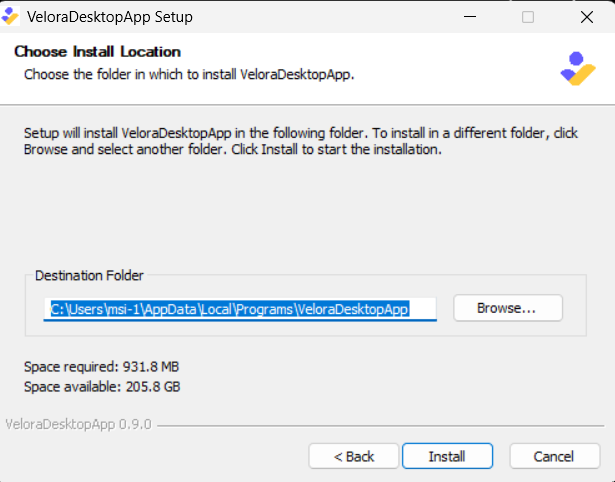
Step 5 — Choose an install location
The default install path works for most users. If you need to install to a different drive, change it here. Click Install to proceed.
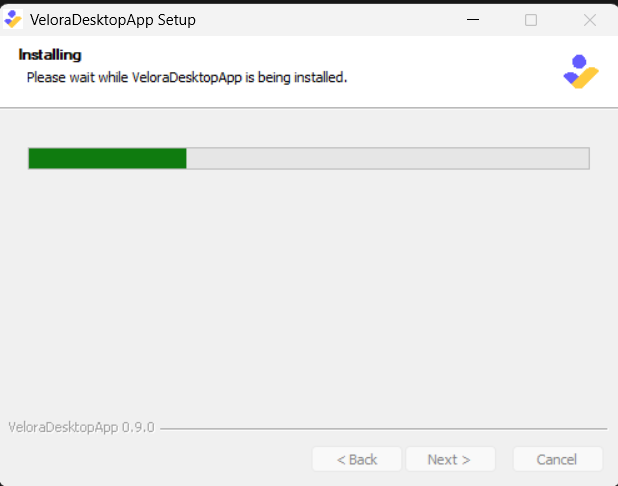
Step 6 — Wait for installation to complete
The installer will copy all necessary files. This usually takes under a minute.
Step 7 — Finish the installer
Once the progress bar completes, click Finish. If the Run VeloraDesktopApp checkbox is visible, leave it checked to launch immediately.

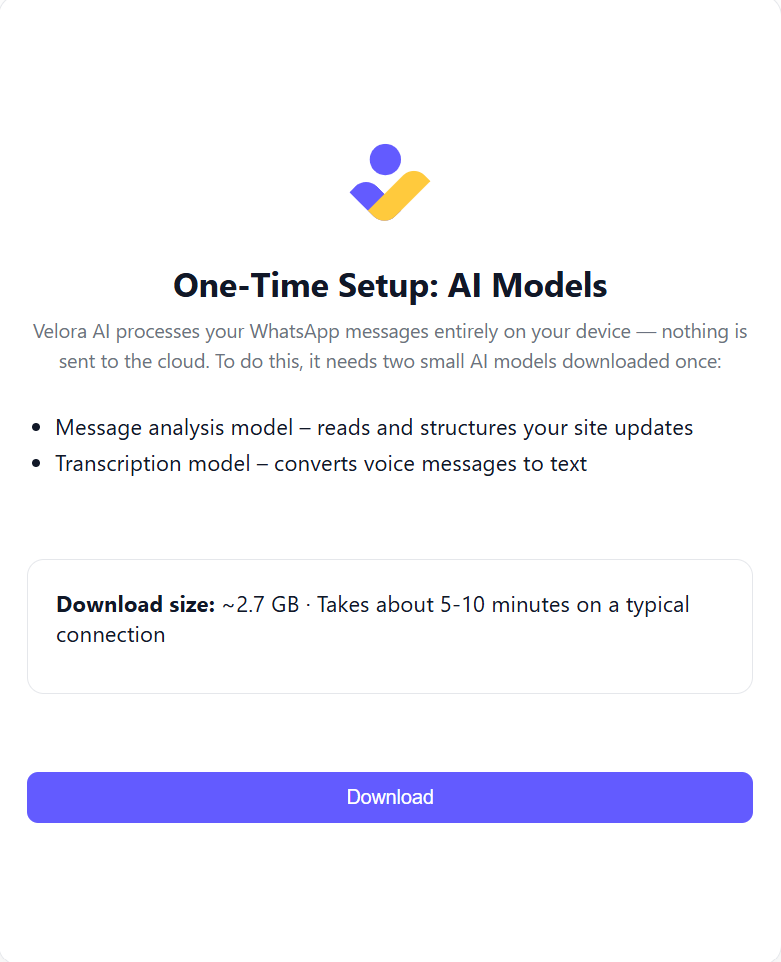
Step 8 — The app downloads the AI models
On first launch, Velora AI will automatically download the on-device AI models it needs to process your site messages. You will see a download progress screen — keep the app open and let it complete.
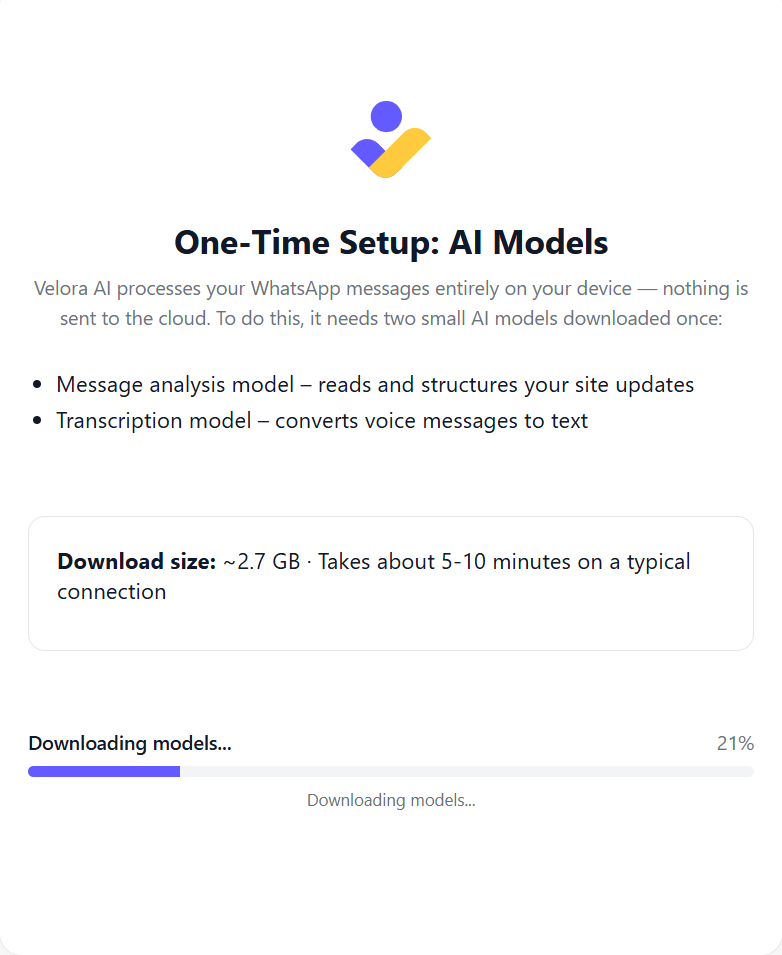
Step 9 — Wait for the AI models download to finish
Download time depends on your internet connection. The models together are around 2.7 GB and only needs to be downloaded once.
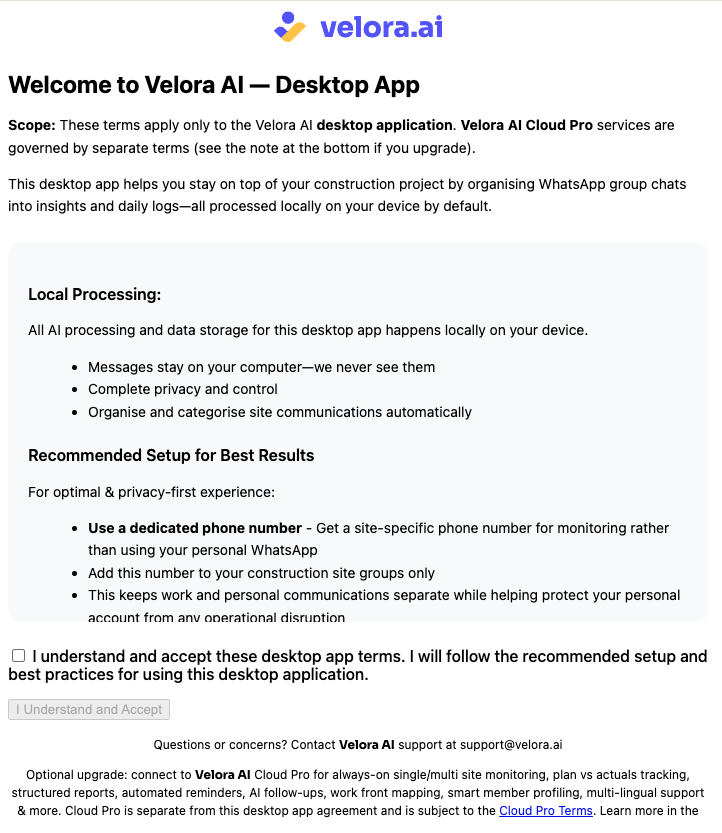
Step 10 — Accept the Terms of Service
Once the model download completes, the app will show Velora DPR Generator Terms of Service. Read through and accept to continue.
Step 11 — Connect your WhatsApp
Velora AI connects to your WhatsApp account using WhatsApp Web — the same technology as web.whatsapp.com. When prompted, the app will automatically open a Chrome window with the WhatsApp Web QR code.
Your messages are read locally on your device and are never sent to any external server.
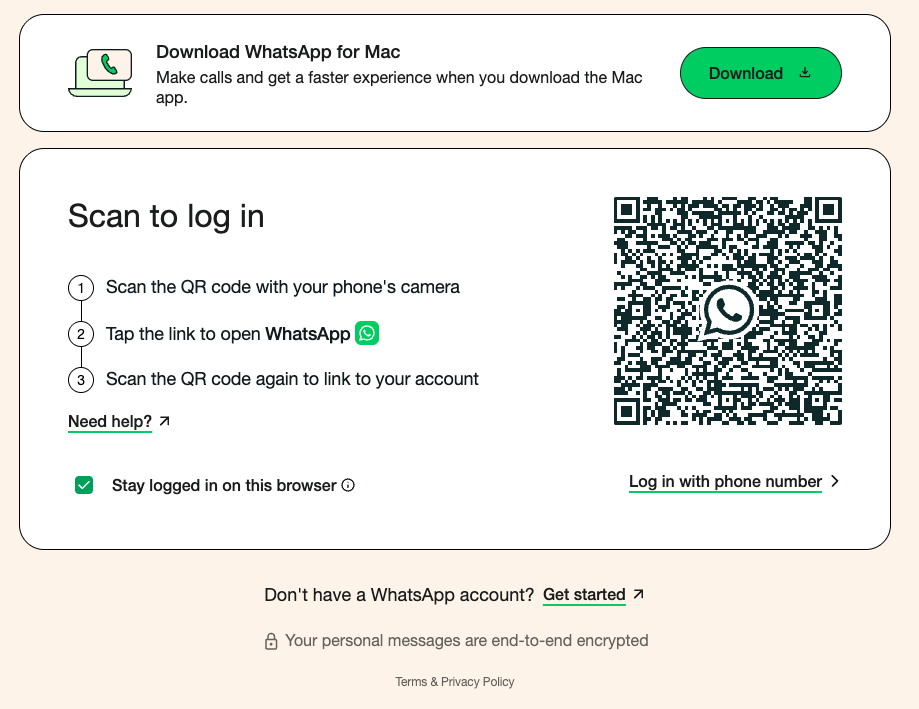
Step 12 — Scan the QR code from your phone
Open WhatsApp on your phone and navigate to Linked Devices:
- Android: Tap the ⋮ menu → Linked Devices → Link a Device
- iPhone: Tap Settings → Linked Devices → Link a Device
Point your phone's camera at the QR code shown in the Chrome window. The app will confirm once the connection is successful.
The QR code refreshes every ~20 seconds. If it expires before you scan it, it will automatically refresh — just try again.
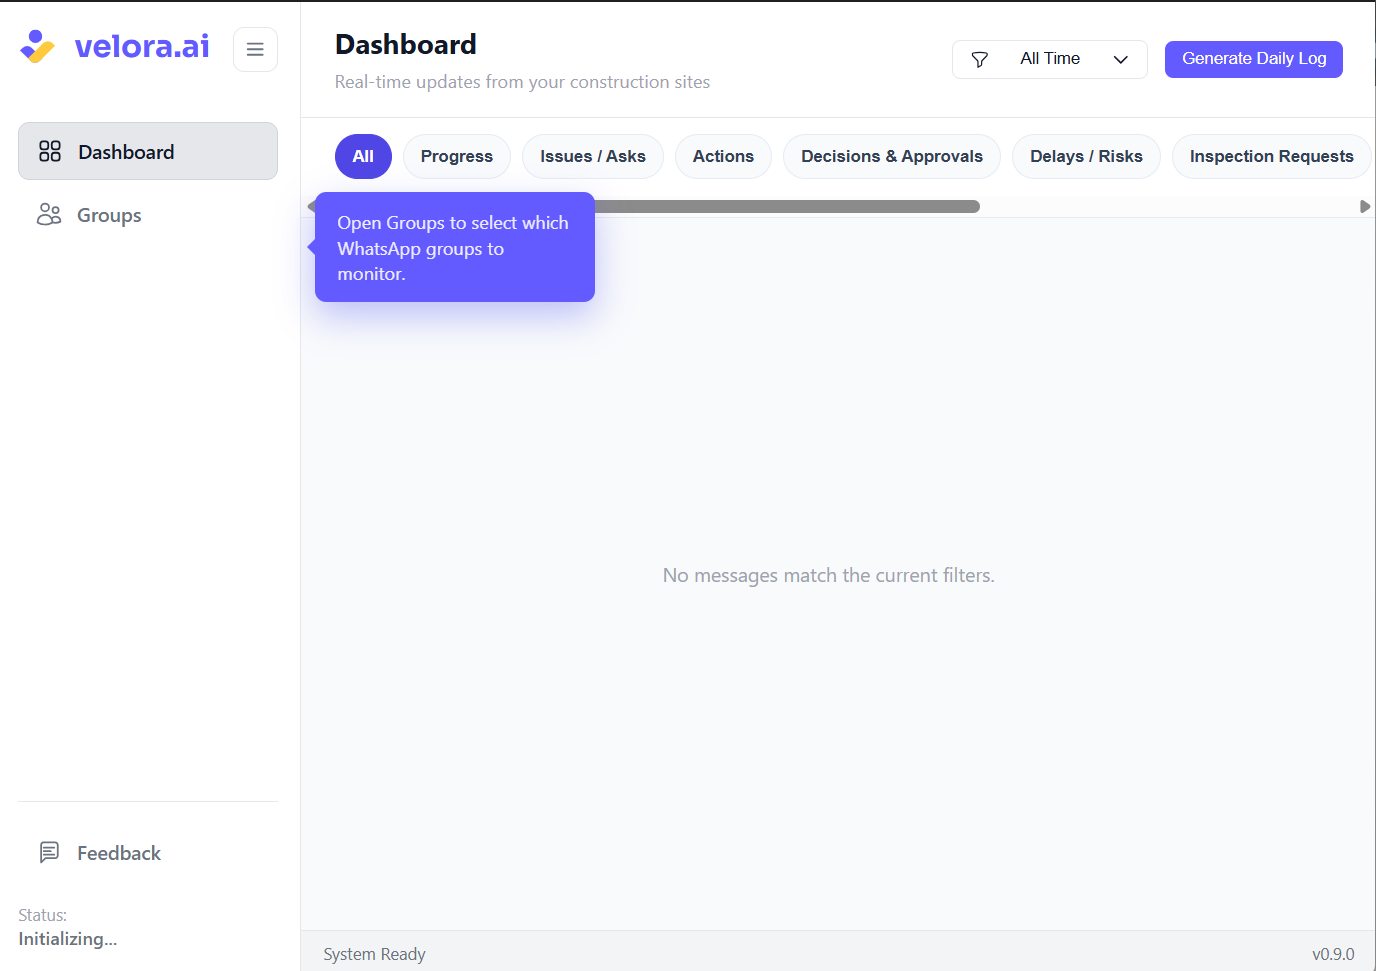
Step 13 — Switch to the Groups tab
Once WhatsApp is connected, return to the Velora DPR Generator window and click the Groups tab. This is where you'll find and select your site groups.
Step 14 — Select your site groups
Velora AI will list all your WhatsApp groups. Select the groups you use for site coordination — you can select multiple groups — and click Save Selection.
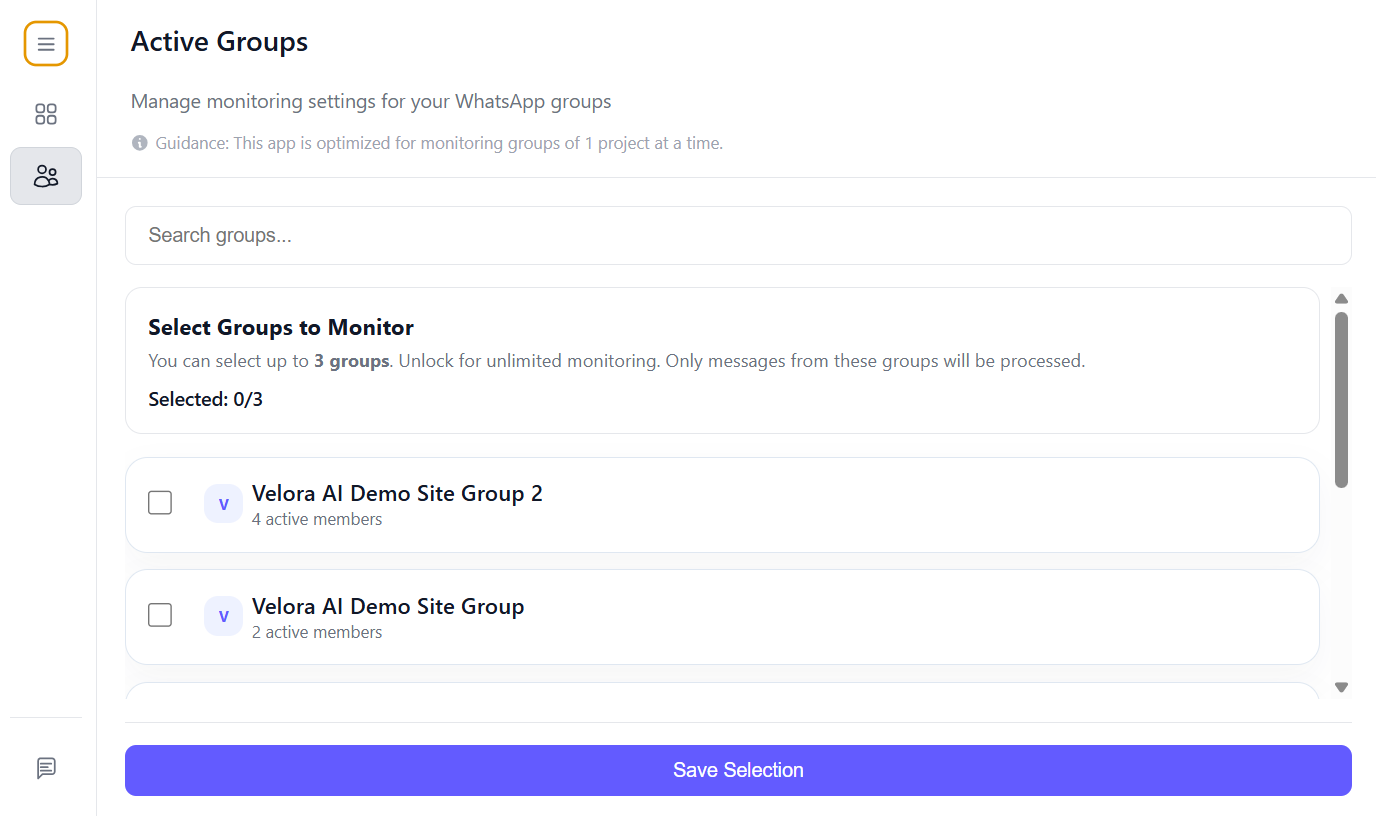
ONLY the site groups that you explicitly select are monitored by the DPR Generator. Plus, no messages ever leaves your device - so your private chats are completely safe.
If a site has multiple coordination groups (e.g. one for labour, one for supervisors), you can add all of them.
Choose active groups. Velora builds your log from messages coming in — so pick groups where your team is actively sending updates throughout the day. If you add a group that's been quiet for a while, it may take time before messages appear. The more active the groups you select, the faster you'll see your first log take shape.
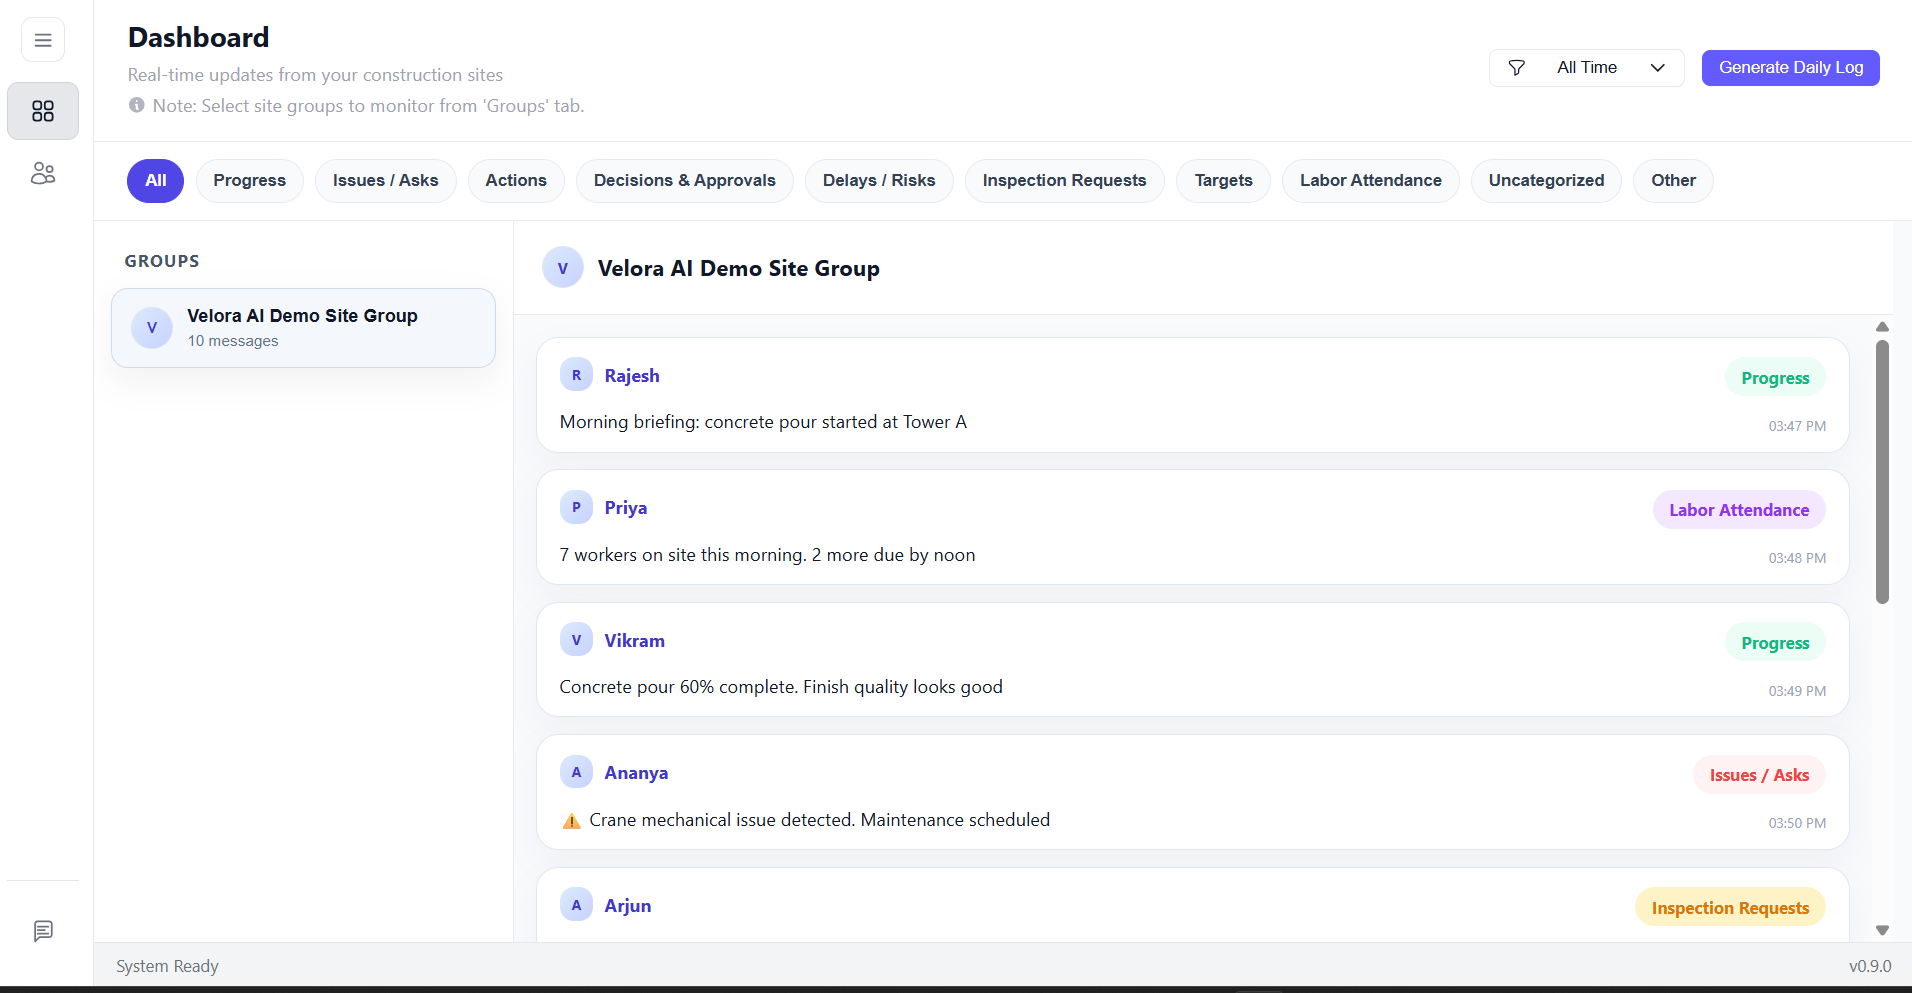
Step 15 — Review and confirm categorisation
Velora AI will begin processing recent messages from your selected groups and categorising them by type: progress updates, issues, labour attendance, target commitments and more. Review the categorisation before generating your first report.
You may manually reclassify messages, that you believe should be differently placed in your site reports.
Step 16 — Your first DPR is ready
Your Daily Progress Report (DPR) is now generated and structured. You can finalize and share it with your client, PMC or head office, saving you at least 1 to 2 hours daily.
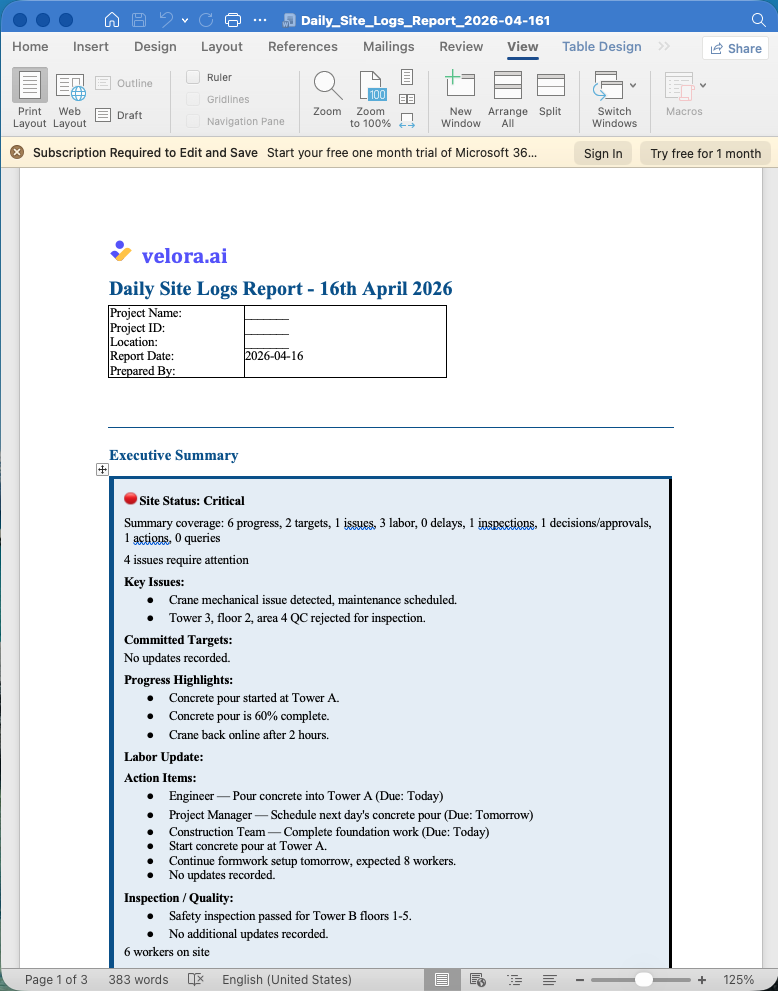
The app will continue monitoring your groups, building your log as new messages come in throughout the day.
The DPR Generator relies on an active WhatsApp Web session in Chrome. Keep that tab open and revisit the app during the day — your DPR updates as new messages come in.
Troubleshooting
QR code expired before I could scan it
The QR code refreshes automatically every ~20 seconds. Wait for a fresh code and try again, or restart the connection flow from within the app.
WhatsApp says "Too many linked devices"
WhatsApp allows up to 4 linked devices per account. Go to Linked Devices on your phone, remove a device you no longer use, and then try linking again.
The app isn't picking up older messages
The DPR Generator begins reading from the point of connection onward. Backfilling historical messages is not supported in the free DPR Generator.
Windows Defender or antivirus is flagging the installer
This can happen with newly released executables. If you'd like to verify the file, reach out at support@velora.ai and we'll share the checksum.
What's next?
Site Pro gives you always-on site monitoring without keeping your desktop running — plus multi-site management, plan vs actuals tracking, AI-drafted DPRs, and automated follow-ups. Book a demo →